Note: All links current as of the time of this blog post
We are in the home stretch. If you haven’t already, you may want to take a look at tutorial parts 1, 2, and 3 before beginning this one.
At this point, we’ve defined our service, created Data Contracts and Service Contracts, implemented the serivce, and programmed the code behind the endpoints. All we have left to do before this service is fully functional is to create the Host Contracts, which will set up the actual endpoints for us.
In your Solution Explorer, right click on the MyCryptographyService.model and choose Add –> New Model. In the dialog, select Host Model and complete the the form and click finish.
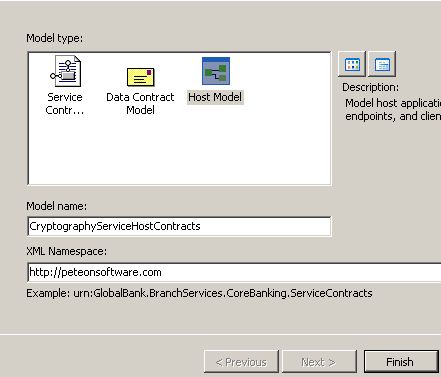
This brings up a new designer surface for the Host Designer.

The very first thing we need to do is to right click on the Host Model in the Host Explorer and select “Add New Host Application”.
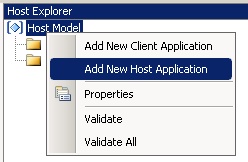
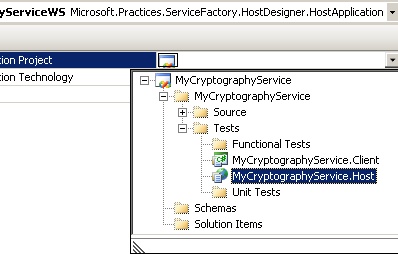
This will create HostApplication1. Right click on it and view properties. Change the name to “CryptographyServiceWS” and the Implementation Technology to “WCF Extensions”. For Implementation Project you need to pick the project that is going to be the one the people will actually connect to. You can create your own Web Services project if you’d like, but there is one already included for us, so I will use that one for the purposes of this experience. Expand the dropdown as shown below and choose MyCrytographyService.Host.
Return to the Host Explorer, right click on CryptographyServiceWS and choose “Add New Service Reference”. This creates ServiceReference1.
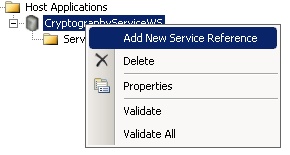
Right click on ServiceReference1, choose properties and set its name to CryptService. Select to Enable Metadata Publishing to true. For Service Implementation Type, click the ellipses to bring up this dialog and choose CryptService.
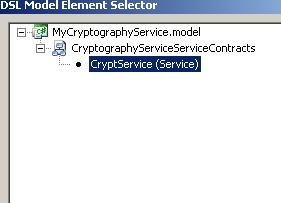
Go back to the Host Explorer. Right click on CryptService and choose “Add New Endpoint”. Endpont1 will appear. Right click on Endpoint1, select properties and change its name to Crypt, leave Binding Type at basicHttpBinding, and enter “Basic” in the Address field. As the tooltip says, the Address field allows you to append something to the name of the endpoint so that you can create many different endpoints, each to the same code. The point being to allow users to connect with many different bindings, but to do that you must create an endpoint for each. Rather than have many different endpoint names, you can just add a suffix. Additionally, this can also be used to version the endpoints on your service.
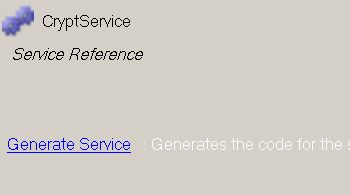
That’s it. When you click again on CryptService in the Host Explorer, you see this screen on the left. Click “Generate Service” and if you’ve done everything correctly, you should be set to go. If you do not see this screen, that means you have left out a step. Please review the tutorial up to this point and if you are still stuck, leave me a comment and I will try to help.
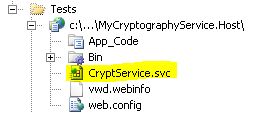
Now, if you go back to your Solution Explorer and navigate to the Tests folder and look inside the MyCryptographyService.Hosts project, you will see the CryptService.svc file.
This is the “page” that people will connect to. In fact, if you right click on it and choose “View in Browser” you should see the page below.
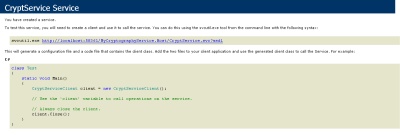
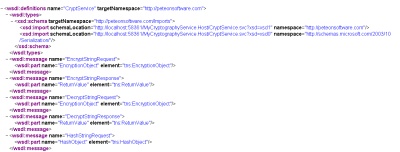
If you click the link that is provided on that page, you can see the WSDL from the service itself.
That’s it. Your WCF service is now fully functional. In the final piece of the tutorial, we’ll make a C# Console Application that calls our service and gives us back some results.