Note: All links current as of the time of this blog post
This is the first in a series of five tutorial posts on the Web Services Software Factory. The Web Services Software Factory (WSSF) is a product that has come out of the Microsoft Patterns and Practices Group and its goal is to aid you in the mundane tasks that accompany setting up a robust WCF or ASMX service. The outline of the tutorials will be as follows:
Post 1: Download, Install, and Setup our Demo Project
Post 2: Create Data Contracts and Implement Business Entities and Translators
Post 3: Create Service Contracts and Implement the Methods
Post 4: Create Host Contract, Deploy and Test WSDL
Post 5: Generate Proxy, Create Simple Client, Call Service to Test
The original WSSF version had a lot of XML configuration to create contracts. With the version that came out in February (called the Modeling Edition), Microsoft Patterns and Practices added a lot of visual designers and even more code generation to the product. However, that is enough of the prelude, lets get into the example.
First you have to do some downloading and installing. You must first download and install GAX (Guidance Automation Extensions) 1.4. It can be found here. Installation is very simple and you just have to run the installer and accept the defaults to go on.
Next, you have to download the WSSF itself. Go here and download the product. If you are on Vista, you have to run the installer from an elevated command prompt. To do that you merely have to get the command prompt to show up in your start menu (either by searching or because you’ve saved it there as I have) and right click on it. Run As Administrator will be one of your options as shown below. After you have the prompt, execute the installer.

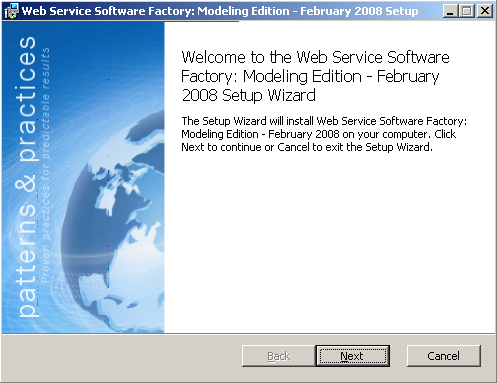
You will then get the installation wizard and again you can accept the defaults and move on.
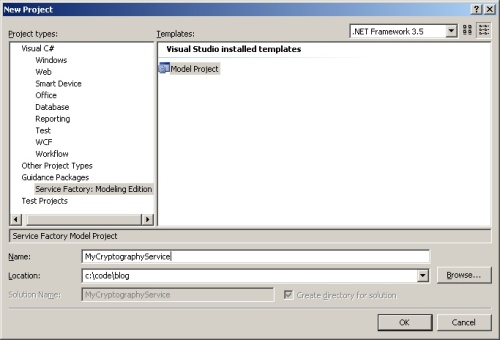
Once you have installed the WSSF, start Visual Studio 2008 and click File–> New –> Project. Then select Guidance Packages, Service Factory: Modeling Edition, and then Model Project. Chose a directory and call the project MyCryptographyService and click OK. Note: we are going to do WCF, so make sure that you target Framework 3.0 at a minimum. I’m going to choose 3.5 just to run the “latest and greatest” 🙂
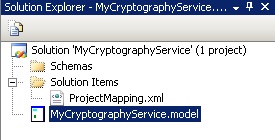
Rename the MyCryptographyService model project file to MyCryptographyService.model (so we can add a project of that same name later).
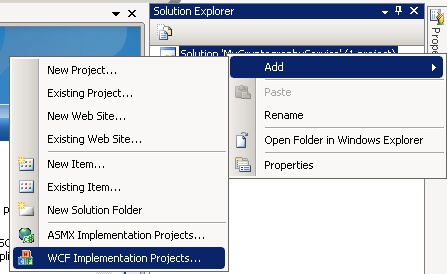
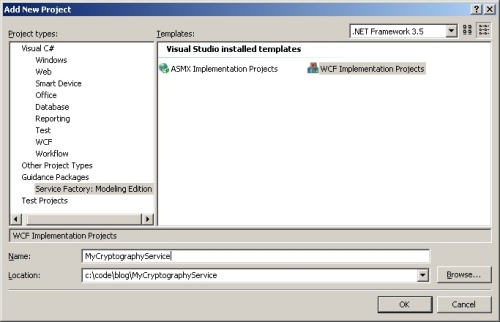
Right click on the solution and choose Add–> WCF Implementation Projects.
This brings up the Add New Project dialog yet again. Name it MyCryptographyService (this is why we renamed earlier) and click OK.
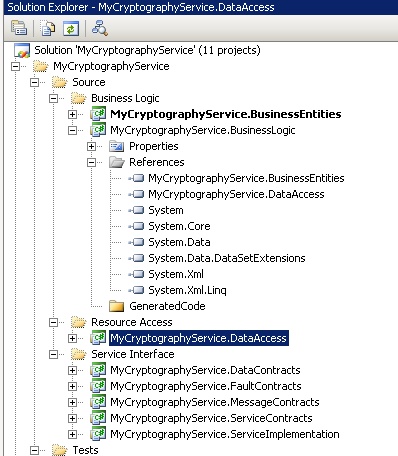
Visual Studio will grind away for a second and when it is done, it will have produced a boatload of projects for you in your solution. You will also notice that the projects that should reference each other already do, helping you along in making sure that you separate your code properly. Build your project and everything should build nicely. It doesn’t do much now, but more will come next time. If you have errors, please make sure that you followed the steps correctly.
Next time we will dig into the designers and begin to implement the entities in our project.