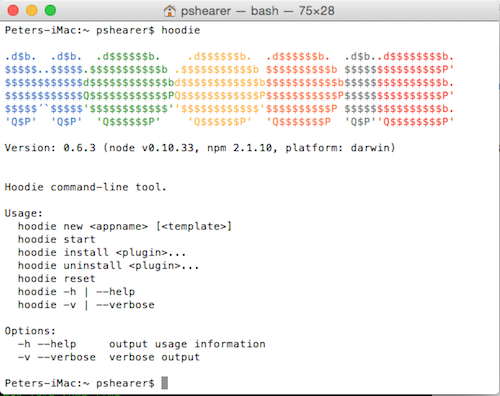
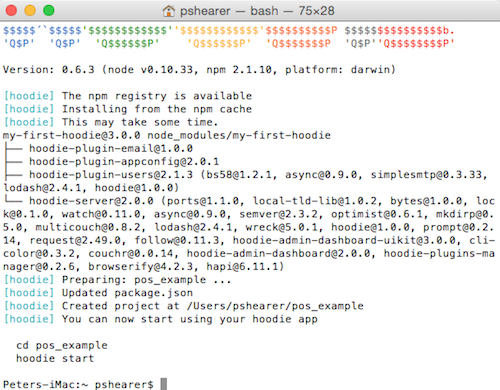
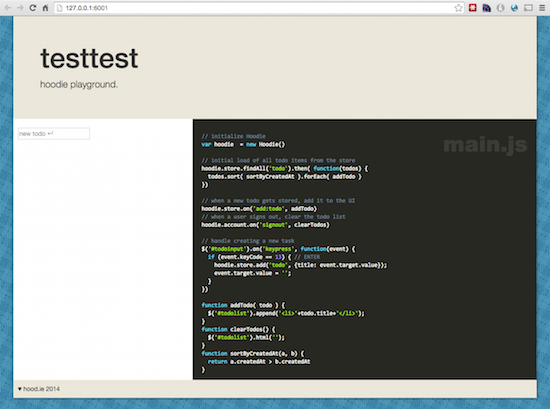
Last time, we got Hoodie installed and made the first simple application. If you had done it correctly, you would have been able to add ToDo’s and then remove them by clicking them. Let’s make another application, and while Hoodie supports templates to create applications, I’m just going to have it make the default application again and we’ll replace what we don’t need.
I’m going to type hoodie new part2 and create a new application called part2. Here is the result:
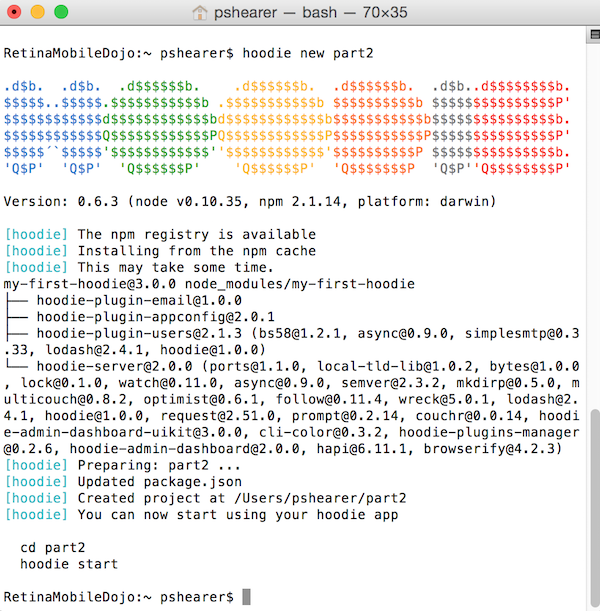
If we do issue a cd part2 command, we end up inside the application folder. Let’s take a look at what file are contained in the folder by default.
- README.md – Contains information about the application, how to get started, and even how to deploy the application
- package.json – As you can probably tell by the installation process we had to follow last time, Hoodie applications are really just Node.js applications and Node.js apps need a package.json file. We get the name of the app here as well as the list of dependencies that it needs to keep up to date and deploy.
- node_modules folder – Another fairly self-explanatory one. This folder is where npm actually keeps the files needed for the application. If this was regular Node.js application, we might just get the package.json file from source, and need to call npm install in order to get this folder and its contents, but the hoodie new command did that
- data folder – This folder is our database. You actually won’t see it the first time, but instead it is created the first time you run hoodie start. If you want to easily wipe out everything for the app, renaming or deleting this folder will cause a brand new database to be created.
- www folder – Everything for the application, asset-wise, is here. All HTML, CSS, JS, images, etc live in this folder. Treat this like any other web root, Hoodie doesn’t do anything to new files in here that would cause you to lose your work.
I’m going to leave the application intact and we are going to just make a new file inside for our demonstration. All we really need to make the HTML file we are creating “hoodie-able” is to include this script:
<script src="/_api/_files/hoodie.js"><script>
If you go digging around our directory, you aren’t going to find that file at all. The reason is because the Hoodie server serves that file up dynamically by itself. Not only is the goodness of Hoodie in this file, but it also has the front-end code required to work with any of the plugins that you’ve installed along with the app.
The first thing I’m going to do is add a new file in the /www directory called new_user.html. Here are the contents of that file:
I’m also going to create a new file in the /www/assets/js directory called new_user.js. Here are the contents of that file:
The HTML file should be pretty self explanatory. I just made a simple form that takes an email and a password. We include the hoodie script file and our own script file and jQuery. If you call hoodie start and give it a password for the application (first time only), you will get the default screen that we had before.
Our JS file shouldn’t need too much explanation, but there are some things that are likely new to you. The “use strict” is something new in ECMAScript v5 and it forces you to write better javascript. Here is some documentation if you are curious. The next line “var hoodie = new Hoodie();” instantiates the Hoodie object.
After that, we have a block of code that is wrapped inside of the jQuery document ready method. Much of the code is concerned with trapping variables and manipulating the screen, but we should be interested in the two lines that are “Hoodie-centric”.
hoodie.account.signUp(username, password).done(function (user) {checkUser();});

hoodie.account.signOut().done(function (user) {checkUser();});
Our hoodie variable that we declared earlier has an account property that accesses the account store inside of the CouchDB instance. Account has signUp(), signIn(), signOut(), changeUsername(), resetPassword(), and changePassword() methods that you can call. The signUp() and signOut() methods also allow you to provide a callback, which we did and used to manipulate the DOM. All very simple and basic, which is definitely what the Hoodie developers were trying to accomplish.
If you now go to http://127.0.0.1:6007/new_user.html (your port could vary, check the console as you start), you will see a screen like this:
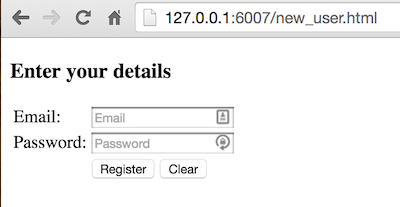
(ignore the symbols in the textboxes to the right, that is LastPass being helpful)
When I put in an email and password, and click register, I get logged in and greeted.
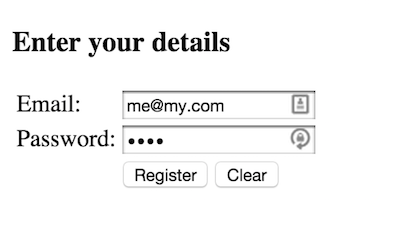
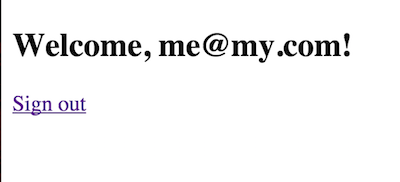
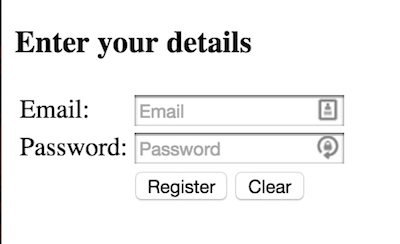
Clicking Sign out gets us back to where we were:
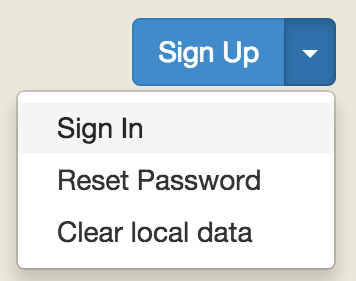
So, what did we do? Did we really just create an account? Go back to the main page, for me that is http://127.0.0.1:6007, and go to the upper right hand corner, hit the drop down arrow and choose to sign in.
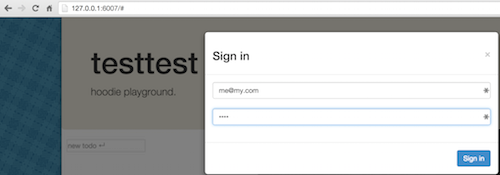
You will be presented with a form. Put in the information that you registered with on our page.
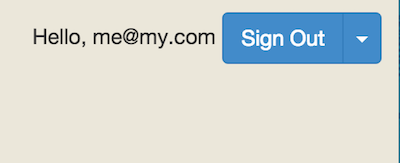
You will now be shown as signed in. We really did create an account.
That’s it for this time. Next time, we’ll try creating some custom objects and see how easy (or hard) that is with Hoodie.
 Some time ago, I was browsing Reddit or Hacker News and I came across a link to something called